Installing Java
1. Refer to the OPERA 5 and OPERA Cloud Client and Server Compatibility Matrix document
2. Log on to the workstation with a user account that has local administrator rights.
3. Download the required JRE version from one of these pages:
https://www.oracle.com/technetwork/java/javase/downloads/jre8-downloads-2133155.html
https://www.oracle.com/technetwork/java/javase/archive-139210.html
4. Next to Windows x86 Offline, click the link jre-xxxx-windows-i586.exe to begin the download.
Note: Only 32-bit versions of the JRE are supported with OPERA.
5. When asked if you want to run or save from download.oracle.com, click Run.
6. Click the Java icon on the taskbar.
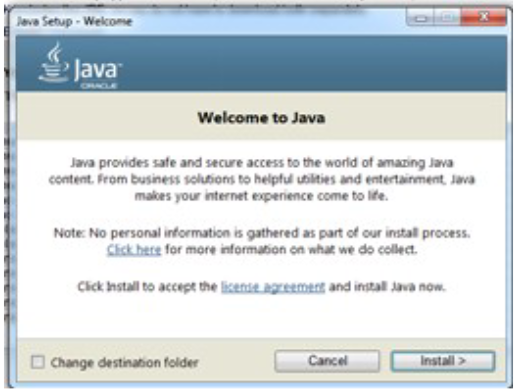
7. On the Java Setup - Welcome screen, click Install.
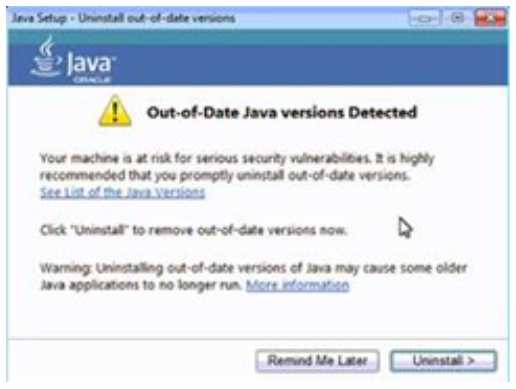
After the installation has completed, the Java Setup - Uninstall out-of-date versions screen appears.
8. Click Uninstall.
9. Click the Microsoft Windows Start button.
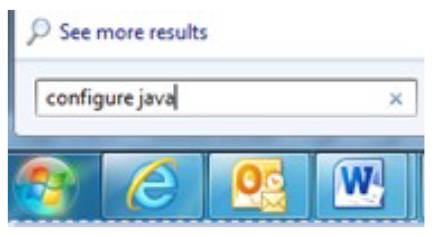
10.Click in the Search programs and files field, type configure java and then press Enter.
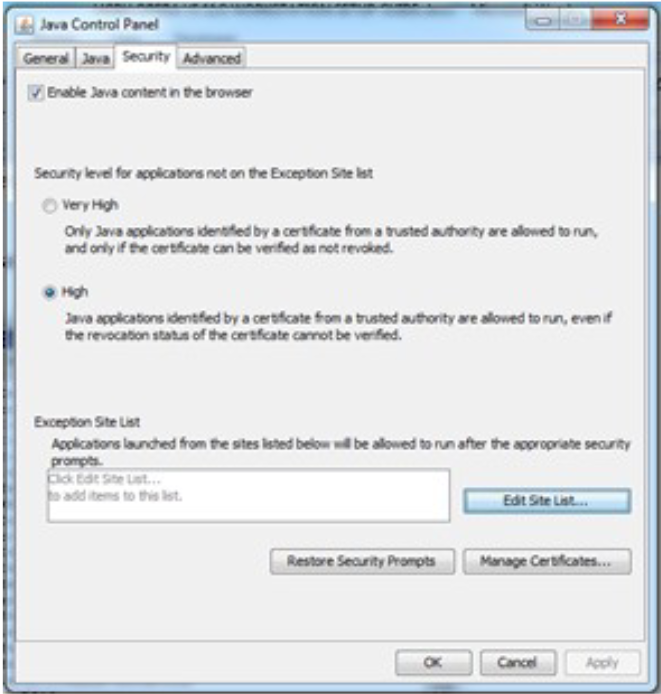
11.On the Java Control Panel screen, click the Security tab.
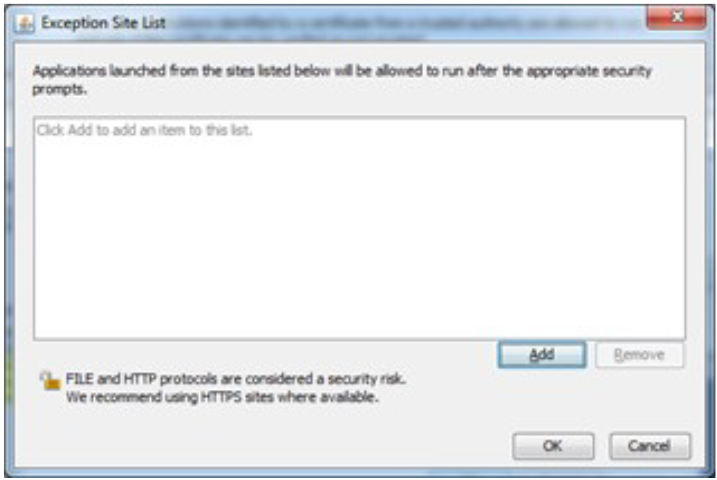
12.Click Edit Site List....
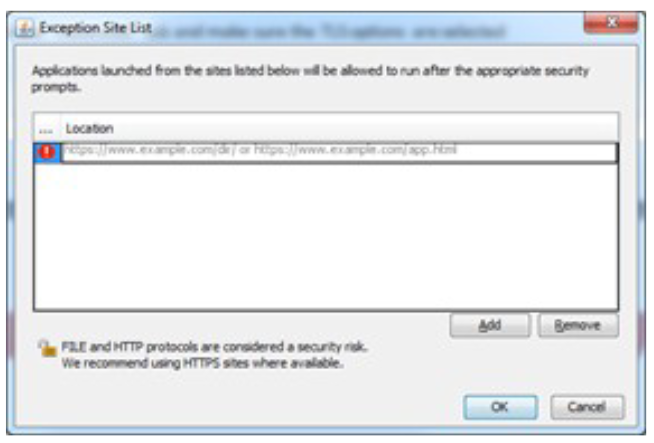
13.On the Exception Site List screen, click Add.
14.Click in the Location field, enter your OPERA application URL with http and then click Add.
For example, depending on your OPERA application version and hosted location, your URLs should look something like:
•https://<yourOPERAURL>.microsdc.us
Or
•https://<yourSSD>-prod-<yourENV>.hospitality.oracleindustry.com
Note: Do not enter a URL that includes 'OAM', also do not include any paths beyond the hostname that ends in .com.
15. On the Java Control Panel screen, select the Advanced tab.
17. Ensure that the Use TLS 1.2 check box is checked. If not, select it.
Note: Older releases of OPERA 5 may also require SSLv3 or TLS1.0 to function.
18.Click Apply and then click OK.
19.Close Microsoft Internet Explorer, open it again, and log into OPERA.